9 Tips to Help You Save Your Smoothies for Later
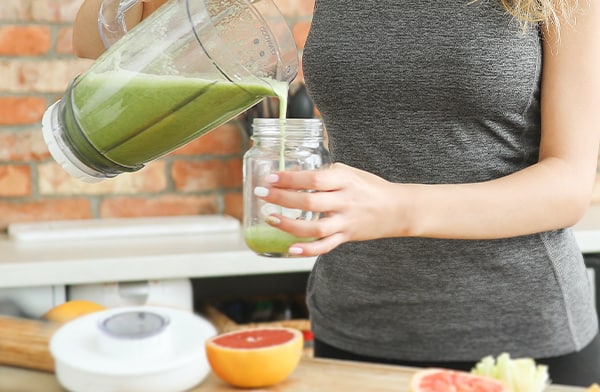
Smoothies are a great way to get everything you need out of a meal in one quick beverage, but they have a potential drawback over more traditional meals; saving and storing those smoothies for later.
You can’t necessarily meal prep smoothies in your refrigerator the way you can with a week’s worth of dinners. Blending up a tasty smoothie is fine, but if you leave some of it to come back to later, you’re just as likely to be left with a flat, weirdly separated, discolored, and unpalatable slop.
Unfortunately, this is partially just the nature of the ingredients. Fruits and veggies tend to turn brown and deteriorate when damaged, and nothing “damages” a piece of produce quite like a blender. It’s a problem when you want to make enough smoothies to last you for a couple of days or even a week at a time.
The root of the problem is oxygen. The oxygen in the air causes oxidization, which causes metal to rust, makeup to discolor, and copper turns green. With fruit, it’s typically when the flesh or juices beneath the skin or rind are damaged and exposed to air.
Thus, you have three ways to deal with this process. You can avoid damaging the ingredients until it’s necessary, you can seal them away from the air, or you can introduce another element to prevent the chemical reaction that causes oxidization.
I’ll go over options for all of them here today.
1. Prepare Ingredients Instead
The first option you have is to limit yourself to preparing ingredients instead of blending up smoothies for multiple days at a time. Some fruits, like cherries, citrus, and melon, can be chopped and prepared ahead of time. Others, like apples and bananas, should be prepared at the time of blending.
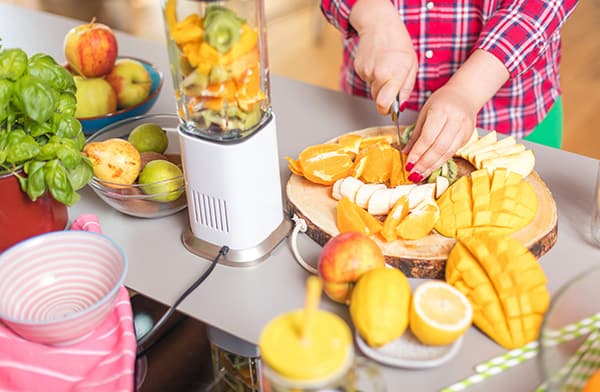
If all of your produce is washed, chopped, and ready to toss in a blender, you’re good to go. All you’d need to do is peel a banana or slice an apple. This preparation helps save you time when you want to make a quick smoothie. With bananas, in particular, you can even chop and freeze them ahead of time, which has the bonus of adjusting consistency without requiring ice that waters down your smoothie.
Unfortunately, this doesn’t save you from having to pull out the blender, use it, and clean it each morning. If your goal with prepping smoothies is to avoid waking up the family with a noisy blender, this isn’t the best option for you.
2. Blend and Store Quickly
One of the best tips I can give you is to make your decision quickly. I’ve seen people blend up a double-batch of smoothies, drink their portion for the day, then come back to store the rest. This strategy gives that remaining portion a lot of time sitting open to the air, absorbing oxygen, and preparing to deteriorate.
My best advice is to prepare your smoothies and get them ready for storage before enjoying your smoothie for the day. That way, you won’t have to worry about finishing too quickly to deal with the remainder of your mixture.
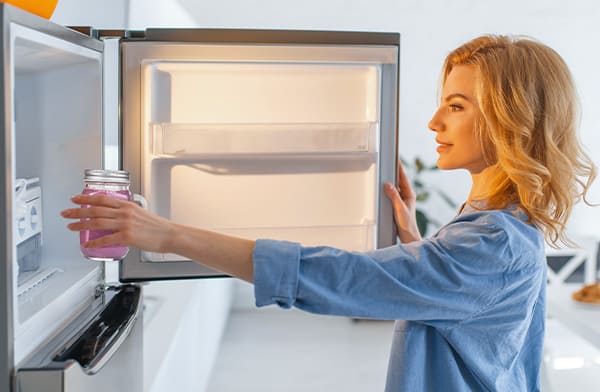
So, how do you store your smoothies? You have two choices: in the fridge or the freezer. Both are good, and I’ll talk about them both later.
3. Store in Airtight Glass Jars
Glass jars are the perfect container for smoothies. You can use standard mason jars – Ball even makes some with handles, knowing people use them as mugs – or you can buy glass jars made explicitly for beverage storage. I’ve never heard of anyone having issues with jars beyond needing to manage lids.
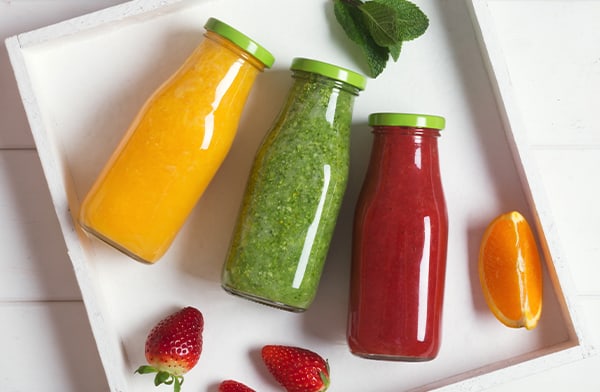
Glass mason jars are great for storing something like a smoothie. They’re great for storage in general. After all, they’re used for making preserves, jams, and other forms of canning. Of course, when you preserve something like a jam, you boil the jars and lids and seal them while hot to sterilize them. You don’t need to do that if you’re only saving your smoothies for a few days, but if you want to make several months’ worth of smoothies all at once, you’ll need to take advanced precautions.
The point is: glass is healthier than plastic, better for the environment, easier to clean, and better for storage.
4. Fill Jars to the Top
As I’ve already mentioned, the reason smoothies deteriorate is exposure to oxygen. The less room you have for oxygen in your jars, the less there is to oxidize your smoothies.

Now, this isn’t going to have a considerable impact. The act of blending up your smoothie introduces a ton of oxygen into it, especially if you over-blend and end up with a bit of foam. There’s no way to remove all of the oxygen without some extreme setup using vacuum sealing, and that’s not feasible for smoothies.
Still, this avoids having the surface of your smoothie oxidize faster and more thoroughly than the rest, leading to one sip worth of smoothie tainting the whole thing. The less space you leave, the less air can start to decompose the ingredients.
5. Fill Slowly to Avoid Trapping Air
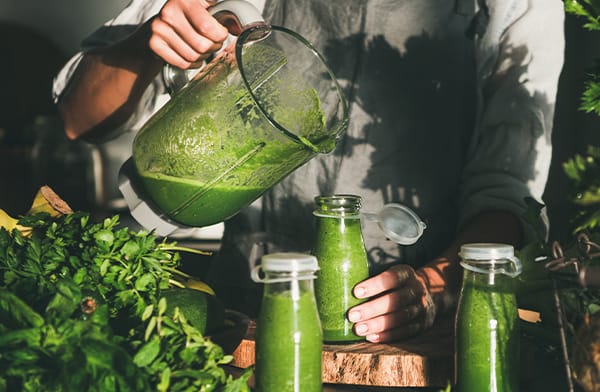
Again, while a lot of air is trapped in the smoothie simply during blending, you don’t want to introduce more of it to the equation. So, when you transfer your smoothie from the blender to the jars you’re using to store it, pour slowly and try to avoid trapping air bubbles in the container.
There’s not much to elaborate on with this tip. You might want to tip the jar and pour against the side, especially if your smoothie is on the thicker side, but it depends on your smoothies and your technique. The only way to figure out what to do is to try it yourself.
6. Add a Dash of Lemon Juice
Old-school canning used a type of wax poured over the top of a nearly full jar of jam or jelly to seal the top and keep oxygen, bacteria, and other nastiness out of the container. Since the advent of modern sterilization and canning methods, this has lost a lot of popularity, as you could imagine.
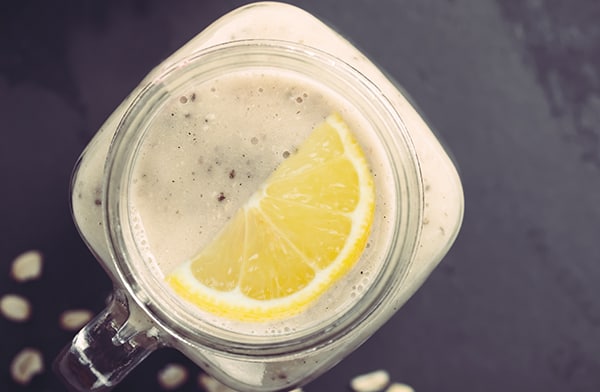
No, I’m not saying you need to melt wax on top of your smoothies. But, you can use the same principle. Lemon or lime juice are both good options that help slow down or prevent oxidization in fruit. When you chop an apple or banana for use later, you’ll notice that recipes often say to toss the pieces in lemon juice. It’s not for flavor; it’s to avoid discoloration.
So, once your smoothie has been poured into a jar, add a dash of lemon or lime juice. Please don’t mix it in; let it sit on top, forming a protective layer. You don’t need much – only half a teaspoon or so. Just add a bit of juice and be careful not to shake it up or mix it in when transferring your jars to your fridge.
Remember that lemon will be detectable in your smoothie if you use too much or don’t mix it in entirely. A little bit of lemon juice is fine for most smoothie recipes but might be less than ideal for others.
7. Freeze Your Smoothies
Careful pouring, a layer of lemon, sealed jars; if all of that sounds like too much work, why not consider freezing your smoothies instead?
If you don’t trust mason jars in the freezer, you can also get freezer-safe jars. You can still use glass jars, and you should still seal them and ensure they are airtight to avoid freezer burn, but it’s pretty easy to freeze smoothies in a simple mason jar. And, of course, leave a little bit of room for expansion. I’ve never had a glass jar explode in my freezer before, though; something typically has to go pretty wrong for that to happen.
There are quite a few different ways you can freeze your smoothies. I prefer the jars; you can freeze individual portions, thaw them one at a time to enjoy, and prepare a week or more worth of smoothies in one batch. Plus, since they last for quite a while in the freezer, you can make up several varieties, so you have options to choose from each day.
You can also freeze your smoothies in an ice cube tray. This strategy gives you smoothie cubes to thaw or add whole into a different smoothie to mix and match flavors. I don’t recommend doing this with too much smoothie at once since it’s more exposed to air (ice trays aren’t sealed), and the cubes won’t last as long. But, it’s a great option to use up the excess half-smoothie you might have when you’re done making a batch.
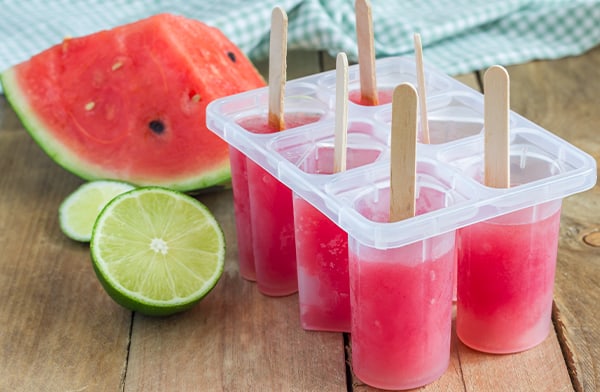
Some people also love to freeze smoothies in the form of popsicles. Popsicle molds are easy enough to find and can be a great way to cool down and enjoy a treat on a warm summer day. That said, you probably aren’t going to be using popsicles as a meal replacement any time soon, just because of the inconvenience and mess involved with getting a full meal’s worth.
8. Use More Resilient Ingredients
Some ingredients are much more prone to deterioration than others. Apples and bananas are two prime offenders, turning brown within minutes and breaking down steadily over a few hours. They often still taste fine even hours later, but they look bad, and that makes your smoothie less appealing. Some greens also fall into this category.
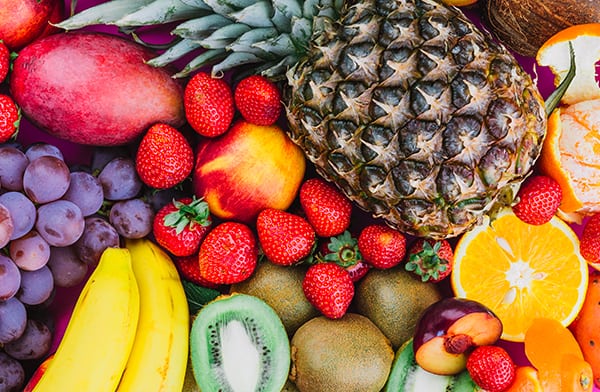
Others are a little less prone to discoloration and easy oxidization. Citrus fruits, melons, cherries, grapes, and strawberries are all much more resistant to oxidization. Many berries are more resistant to it. Perhaps because they’re full of antioxidants? Many vegetables are also more resilient, though they are less common in smoothies, like carrots.
If you choose smoothie recipes that use more resilient ingredients, you’re less likely to have issues with keeping them in the fridge. Not just fruits and vegetables; I’m talking about ingredients like nut butter and seeds, which don’t have the same problems with oxidization as fruits and veg.
9. Do All of The Above
Perhaps the best option is to combine all of the above. A good process might look something like this. First, pick a recipe you want to use for your large batch smoothie.
Once you have a recipe, prepare all of your ingredients as much as necessary. You can do all of this in the afternoon or evening, or you can do it in the morning, so you have your breakfast smoothie ready to go when you’re done. You can always prepare the ingredients the night before and blend up your batch in the morning if you want.
Make up a large batch. Remember, smoothies will last 12-24 hours in the fridge with little attention, and maybe up to 36 when you’ve taken precautions. They can survive in the freezer for 3-4 days if open to the air, like popsicles or ice cubes, or up to a week when frozen in airtight containers. So, prepare accordingly. I find that one week’s worth of smoothies is an excellent batch to make.
You can make your batch of smoothies as you usually would and carefully pour it into jars. You want to fill each jar close to the top, leaving enough room for thermal expansion when the smoothie freezes. You don’t need a ton of space, but you do need some.
Pick a jar to be today’s smoothie and set it aside. Pick a second to be tomorrow’s, top with a bit of lemon juice, and seal. Put that one into the fridge right away.
For the rest, seal them and freeze them.
Now, each evening before you go to bed, you can pick a smoothie jar and move it from the freezer to the fridge. The lingering cold will help prevent the smoothie from oxidizing too much while it thaws in the refrigerator overnight. By the morning, it should be mostly melted and ready to drink. All you need to do is stir it, and you’re good to go.
What did you think of this guide? Do you have any tips for saving smoothies for later or anything else you’d like to share with us? Let’s get a conversation started; please drop your thoughts in the comments below!